The thing about Grande Armee and 6mm figures is that there is just so damned many of them to paint... but even after you have achieved all of the hard yards, those mini masterpieces can still end up looking like an absolute heap of shite!
With the size of the figures being what they are (yes, for those of you out there that are not so maths flash the figures are about 6mm tall from bottom of boot to eyes, or about half of your little finger nail in height!) if you are a foot or more back from them they all kind of blue into one!
...or do I need glasses?
So it becomes a question of sculpting the bases to be interesting enough to draw the eye into a closer analysis of the miniatures themselves.
Grande Armee, being a rule system that allows manoeuvre at an army level, as opposed to a divisional or brigade level, it stands to reason that each of the 3" square bases represent a 'zone of control' for the regimental and brigade groupings that are on the base... which for us modellers out there roughly translates as 'room to sculpt a beautiful Garden of Eden on each and every base!'.
So... here is an example of one of my humble efforts at basing 6mm figures and how I did it!

Following on from where we left IR42 on its nice wooden base I opted to rebase on thicker MDF bases which would likely take a lot more beating from moisture ridden products such as PVA glue and such like.
Once transferred onto the base, and the figures left to set properly the base then needs to have its ground covering. The entirety of the base, including in between the miniatures is given a liberal covering of PVA glue and is then smothered under fine grade sand. Mine has small grit mixed into it as well. This is then shaken off and the base tapped until all loose material is removed.

Once the ground covering is left to dry solid the base then has a heavy dry brush of Vallejo Pale Sand applied to it. High summer in Austria is dry... (the weather around the Battle of Wagram notwithstanding of course!). This provides the high contrast heavily textured base covering.

In order to maintain the presentability of the miniature bases the final stage of painting is to recover the edges of the base in matt black. The black base lining isolate the base from the model scenery on the table and focusses the eye on it.
The next thing to do in the base scultpting is apply the grass layer... and so out comes the trusty 'Flockbox' by Warpainter. As these are 6mm figures and European grass being what it is I opted to use 1mm Static Grass and chose a mixed coloration. I don't really like the vivid green flocks as they are too gaudy to use at 6mm. That kind of colouring is better suited to larger scales.
If you look at photographs taken from altitude you will notice that the environments colours have been somewhat leached from what you see. Because of this I prefer to opt for colours that are a little more muted which is why I opt for the mixed colouring.
The base is painted in area blocks with PVA glue to emulate terrain with broken grass coverage, with the base then inverted and travelled back and forth over the Flockbox laden with static grass.
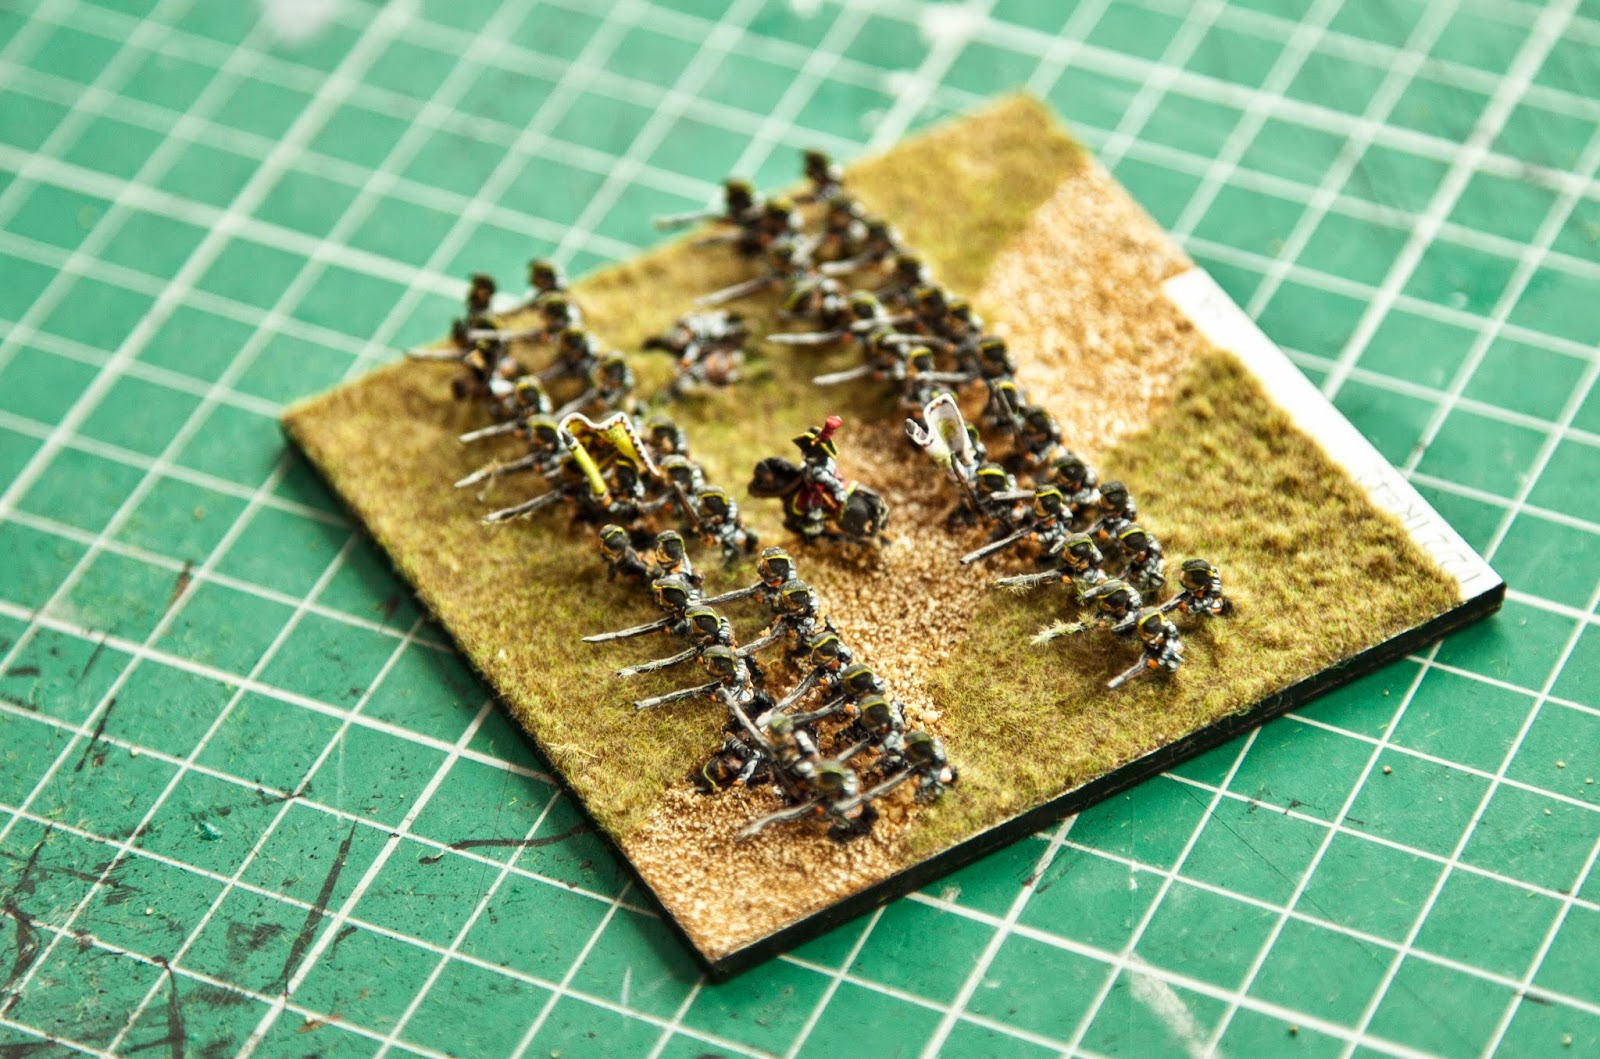
The result is as you see...

The very final stage is the addition to the base of the scenic items like random rocks, shrubs and hedges...
These scenery items comprise model railway cork scatter which is diced and sliced into suitable rock shapes, and artificial foliage which is used for both shrubs and hedgerows.
The finished result should give an overall impression of landscape that your average soldier would be willing to die for ....
.... and here for your perusal is the entire Austrian I Corp for Grande Armee


Et Voila!
They look awesome. I can't believe how tiny they are!
ReplyDelete