When I decided to take the plunge and start getting my Indochina stuff done I spent a lot of time looking around at the kinds of bases that people were doing for Asia and such like and there wasn't much that I could find that really inspired me, in fact a lot of the bases that I had seen were either very reminiscent of European terrain or else they weren't available for the 15mm scale so I had to sit back and have a think of what I wanted.
Anybody that has spent time in a jungle and/or rainforest (and Ive done both) will immediately be able to say that there is more dead stuff there and than alive and the ground covering is a deep mixture of light brown and deep brown/ black and the foliage can be so green its like a slap in the face... and then of course in the right season there is, in parts, a riot of colour with flowers and blossoms and such like, as well as the trees root structure running rampant across all pathways.
Now, this creates a bit of a dilemma because a base that is done this way will look very dark and at 1/100 scale its really important to have a demonstration of contrasts to highlight and draw attention to the details. Because of this one of the choices I made is that I wouldn't just have dead ground covering and instead mix up some materials with some brighter and lighter choices to create a bit of a lighter contrasting texture.

The next big problem was how on earth would I be able to replicate the foliage of a jungle on each base? Well that turned out to be easier than I thought with the beauty of brass etched foliage for Architectural Models...
and so this is how I did the bases:
1) Mount the painted figures directly to the base that you have chosen to use. For me I always use 2mm MDF Flames of War bases from Tony at East Riding Miniatures (http://shop.eastridingminiatures.co.uk) and for those of you who are interested, Tony also carried the Platoon20 line of Vietnam miniatures for the American War.
3) The next thing to be dealt with was the tree roots that spread across the jungle floor and break through the surface. For these I used Green Stuff, made appropriate lengths of the stuff and then stuck them to the bases with the sculpted details being applied once the roots were positioned securely.

5) Now the tile grout is fine for areas of mud BUT I personally am not a massive fan of the texture and Im never convinced by the way grout/plaster with a coat of paint looks. Its always made my miniatures look a bit crap so now I put a layer of fine grade sand everywhere that will be left exposed using PVA glue painted on with a brush.

7) The base then has a heavy dry brush of Vallejo Green Ochre (914) is applied and left to dry
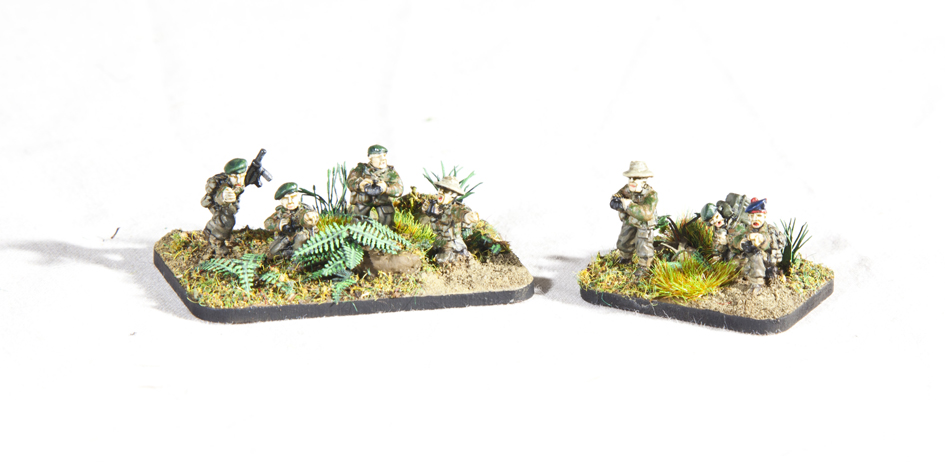
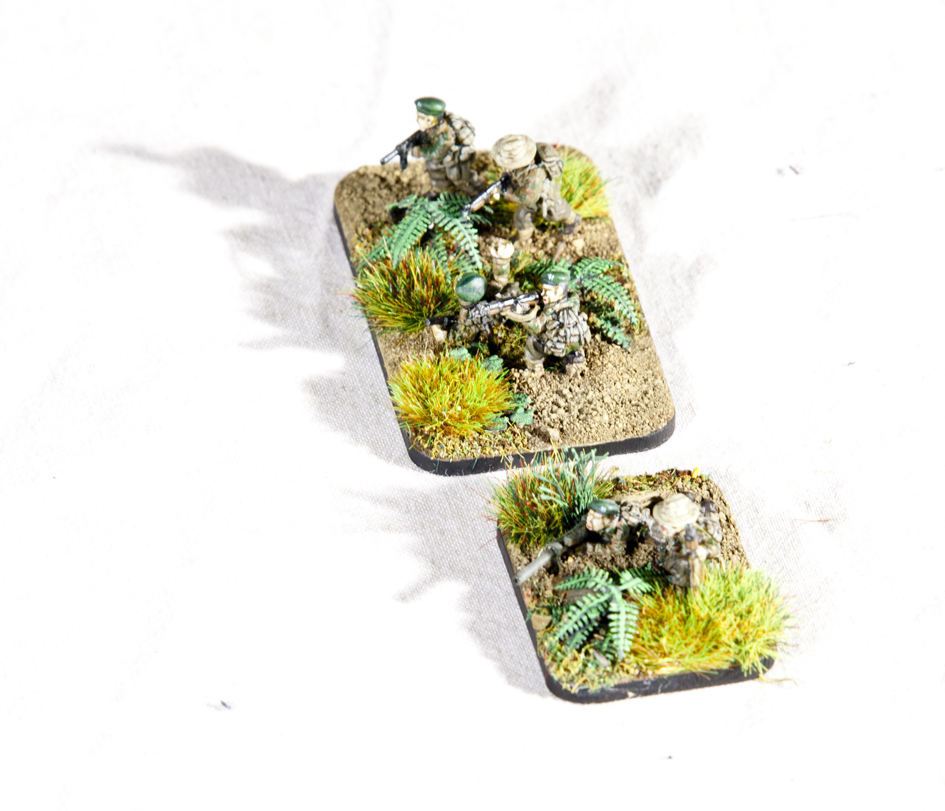
8) Im a real fan of the static flock grass clumps that you can buy off of Ebay and I happened to have a load of choices that I had bought for my Polish army which I had decided were not appropriate for the basing I was doing for them so I had a lot left over. I had looked at my bases and noticed that with the brass etched foliage I was going to apply, it wouldn't have made the bases 'busy' enough for my tastes and so I used a couple of these clumps on each base to replicate the thick undergrowth you can see in the Asias.


10) The next big challenge was the foliage that was raised from the base, and hanging from stumps and rocks. The only viable choice here, I believe, was to use brass etched foliage sheets. After a lot of looking around I settled with buying a selection of sheets from Scale Link (www.scalelink.co.uk) choosing SLF 065 - Tropical Tree Creeper , SLF 040 - Bracken Fronds and SNF 032 - Pond and Canal Plants. They have a vast range of foliage options at different scales and whilst not the cheapest options in the world, are definitely worth their expenses in the final analysis.
These sheets were primed and undercoated black and then were cut from their sheets, and applied to the bases into pilot holes previously drilled into the bases and glued across the ground or across tree stumps and boulders wherever necessary and positioned to represent a good covering of the base.

12) The foliage is then firstly base coated with Vallejo Extra Dark Green (896) and then highlighted with Extra Dark Green mixed with Vallejo Intermediate Green (891) and the final highlight of Games Workshops Putrid Green to make the green really pop.
An easy way to paint the foliage is to firstly paint a thin line down the centre of the frond and then paint all of the frond lobes on each side together with one stroke leaving a darker green dividing line between the frond core and the lobes.

... and there you have it! Jungle bases done!
Crackin' good tutorial! Thank you so much for doing this, and thank She Who Must Be Obeyed for allowing you some time to get this posted!
ReplyDeleteHey Buckeye, happy to be of some help. I'm happy with the way they have come out... I guess the trick will be to see whether or not I can keep it up with the rest of my Indochina collection eh? Lol
ReplyDelete